Guide for using DAA application.
DAA application allows users to manage Digital Addresses and documents associated with that Digital Address. The Digital Address then can be delivered to mobile devices. Application contains three tabs:
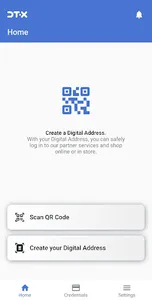
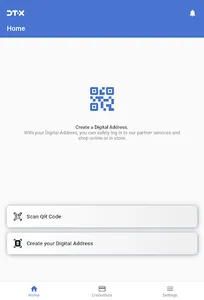
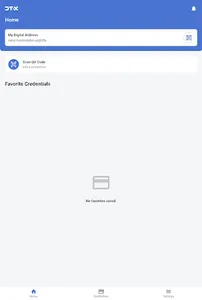
1. Home Tab: Allows users import or create Digital Addresses.
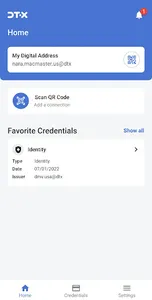
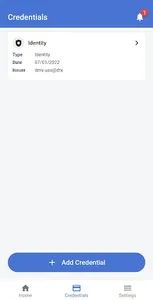
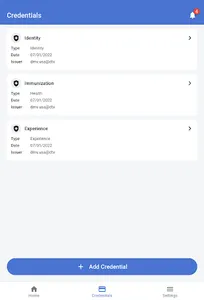
2. Credentials Tab: Allows users to get a list of issued credentials.
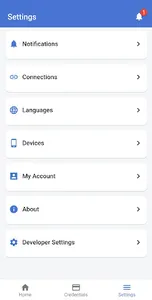
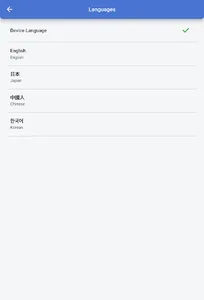
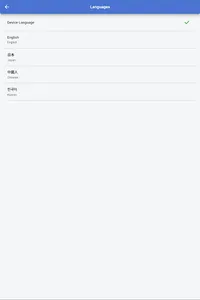
3. Settings Tab: Contains application and account specific configurations and settings.
We have separated three main features to present DAA application.
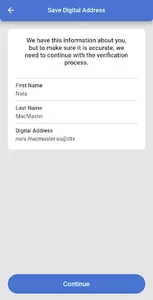
1. Importing/Creating Digital Address.
2. Issue credential for the user.
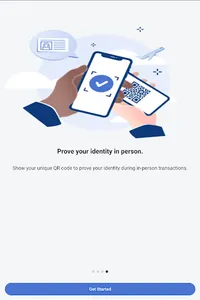
3. Giving user consent for confirming specific information.
Importing/Creating Digital Address:
Go to the “Home” tab and press on the "Scan QR Code" button.
Please open the following link in your browser: https://dtx-cloud.stage.digitaltrust.net/login
Select "Login with Username and Password" option
Login with the following credentials:
Username: tim.cook
Password: password
Please go to the “Directory/My Employees” section on the left panel and find and select the user with the name “Harriot Komorowski”.
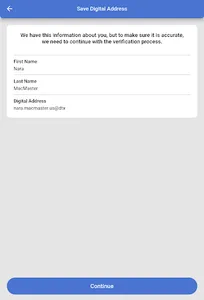
Scan QR with the application, press on the “Continue” button.
User will be notified also for authenticating with biometrics(FaceID or Fingerprint) methods.
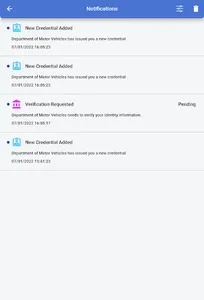
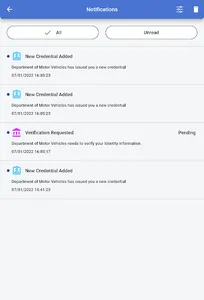
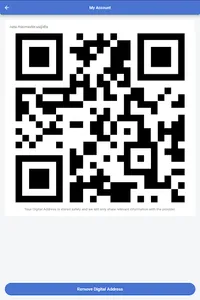
Now you have imported a Digital Address and will be able to get notifications about any operations connected with this Digital Address.
Issuing a credential:
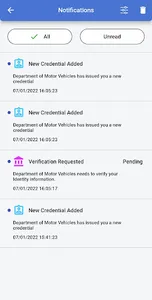
In the selected users page go to the “Records” tab of that user and press on the any document type then on issue button. This issues a credential for the user and will send notification to the mobile phone about the issued credential.
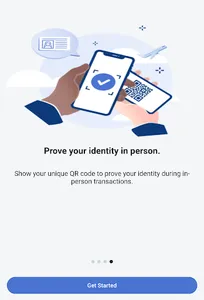
Now when a user has a Digital Address and credential record associated with that Digital Address, the user can provide this credential to any service provider who wants to check a specific credential detail from users credential record.
Giving user consent:
In the selected users page go to the “Profile” tab of that user and press on "Verify" button on the left of the QR. This will send a verification notification to the user and users can approve or reject this request .
Detailed explanation video can be found using the following link: https://youtu.be/oXi3aw5Dg4o
DAA application allows users to manage Digital Addresses and documents associated with that Digital Address. The Digital Address then can be delivered to mobile devices. Application contains three tabs:
1. Home Tab: Allows users import or create Digital Addresses.
2. Credentials Tab: Allows users to get a list of issued credentials.
3. Settings Tab: Contains application and account specific configurations and settings.
We have separated three main features to present DAA application.
1. Importing/Creating Digital Address.
2. Issue credential for the user.
3. Giving user consent for confirming specific information.
Importing/Creating Digital Address:
Go to the “Home” tab and press on the "Scan QR Code" button.
Please open the following link in your browser: https://dtx-cloud.stage.digitaltrust.net/login
Select "Login with Username and Password" option
Login with the following credentials:
Username: tim.cook
Password: password
Please go to the “Directory/My Employees” section on the left panel and find and select the user with the name “Harriot Komorowski”.
Scan QR with the application, press on the “Continue” button.
User will be notified also for authenticating with biometrics(FaceID or Fingerprint) methods.
Now you have imported a Digital Address and will be able to get notifications about any operations connected with this Digital Address.
Issuing a credential:
In the selected users page go to the “Records” tab of that user and press on the any document type then on issue button. This issues a credential for the user and will send notification to the mobile phone about the issued credential.
Now when a user has a Digital Address and credential record associated with that Digital Address, the user can provide this credential to any service provider who wants to check a specific credential detail from users credential record.
Giving user consent:
In the selected users page go to the “Profile” tab of that user and press on "Verify" button on the left of the QR. This will send a verification notification to the user and users can approve or reject this request .
Detailed explanation video can be found using the following link: https://youtu.be/oXi3aw5Dg4o
Show More