コレみーる
株式会社フェイバーエンジニアリング
0+
downloads
Free
About コレみーる
● Prepared by the person who manages (teacher, etc.) ●
1. 1. Register the user ID (half-width alphanumerical), password (half-width alphanumerical) name, and email address from "Create a new group creator account".
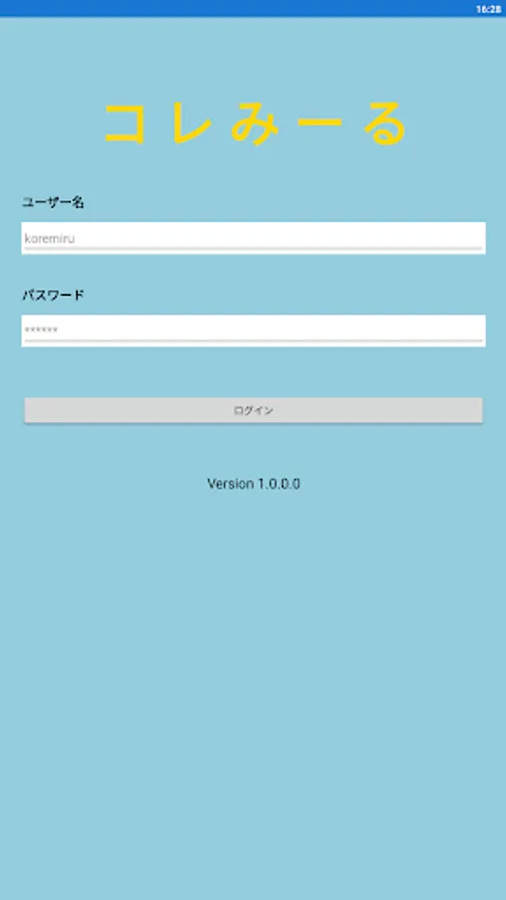
2. 2. Log in with your registered ID and password
[Creating a new group] Example: Prepare a graph for ◯ year ○ group
1. 1. From [Add Group] in the upper right menu, enter the group name (eg, 1st group in 2nd grade) and graph title.
2. 2. Register numerical units (eg cm, pieces, etc.) with "Add unit". Register the units used on the x-axis and y-axis. The date and time are the defaults, so registration is not required.
3. 3. Click the Add Member button from "Group Member Registration" (in the upper right menu), and set the user name (student name), user ID (half-width alphanumericals only), password (half-width alphanumericals only), and group name for each person.
● How to use: Members (students) ●
1. 1. Log in with the ID and PW issued by the administrator (teacher)
[Data entry]
1. Press the data entry screen
2. Enter the measurement date and time
3. Enter a number
4. Press the data registration button
5. Press the graph display button to check the graph
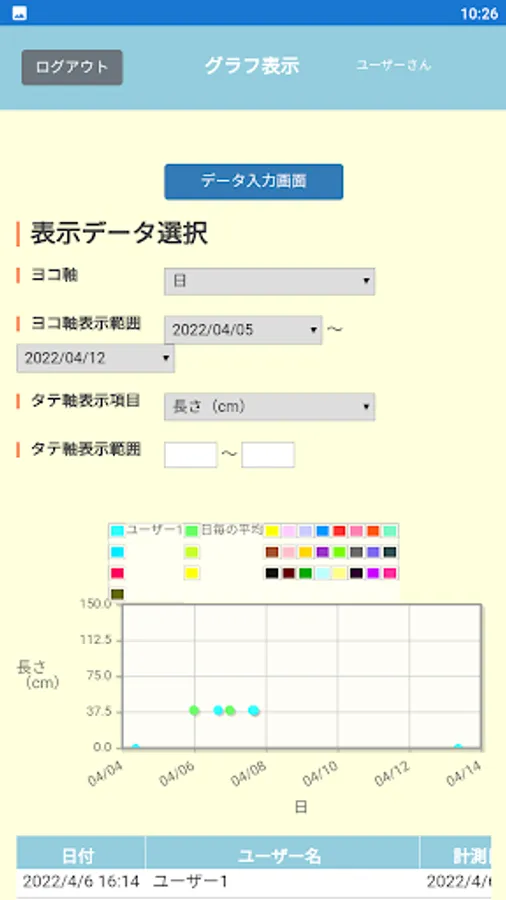
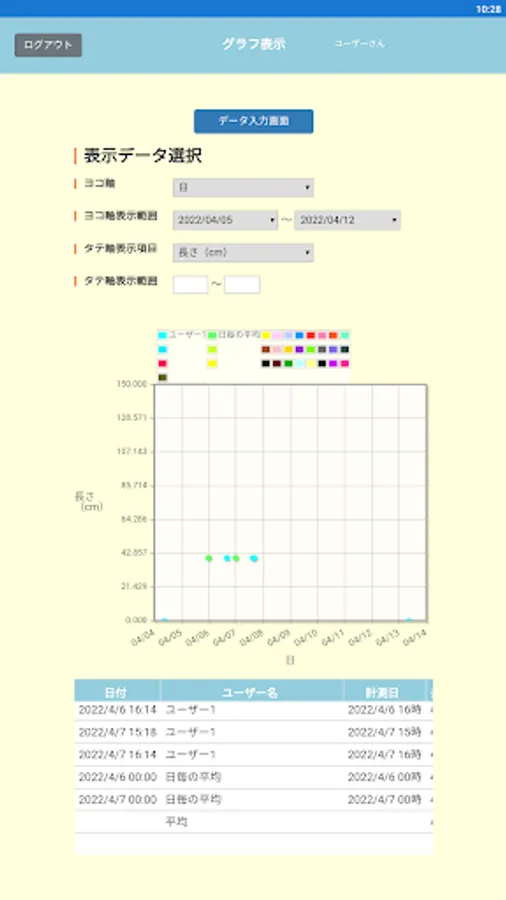
[graph display]
1. 1. Select the items to be displayed on the horizontal and vertical axes
2. 2. Adjust the graph by putting a numerical value in the display range of the graph
Origin of this collection: Collect and see (Miru)