About activateEV
activateEV is the smartest and easiest way to charge your EV. Download our Driver App to locate the nearest JuiceBar charger, activate a charge, check your charging status, easily make payments and stay up to date on your account.
How to Install:
1. Download app
2. Scan the QR code on the charger
3. Start charging
How to Start A Session:
1. Search for and locate electric vehicle charging stations based on location, station ID, availability, power level provided, and accessibility.
2. Start your charge session simply by scanning the QR code on the charging station or entering the desired station ID in the app.
3. Choose to be notified by mobile app or email once your charge is complete.
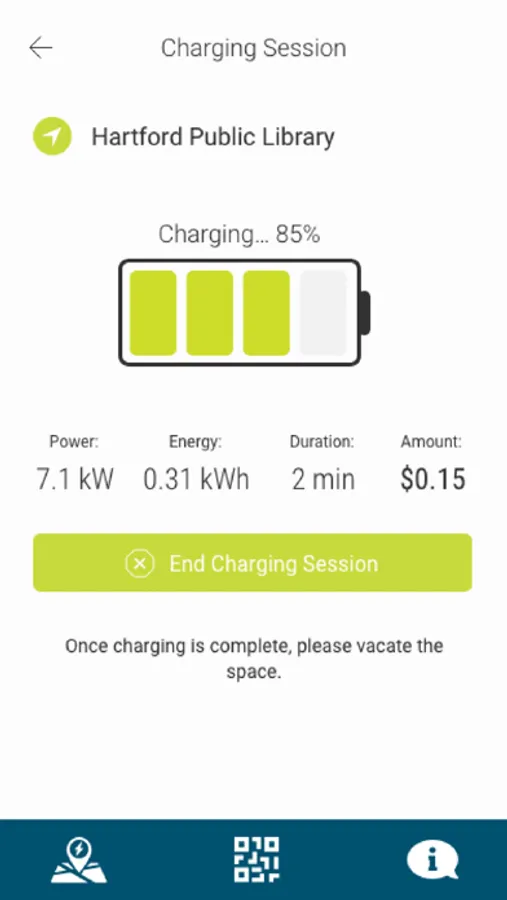
After starting a session you will be able to track live data about the Power; Energy; Duration and Amount you paid. You may also choose to end the session at this window. By default the system will alert you that less than 5 mins are left until the charging is finished, so you can move your car in a grace time period, typically chosen by the operator before any parking penalty fees kick in.
After the session has finished you will be directed to the next screen with a session summary with all relevant data displayed along with a graph depicting the charger consumption throughout the session.
How to Use activateEV app:
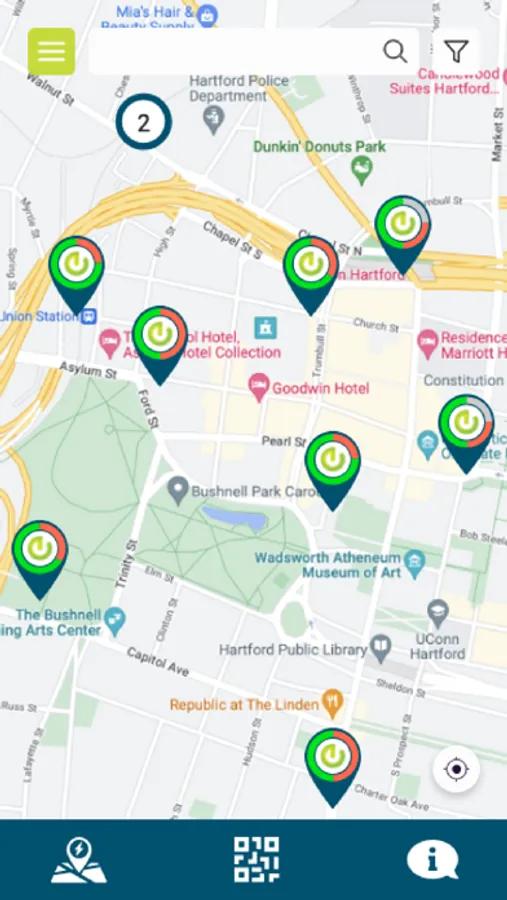
Finding a Charger
The default setting of the map is to zoom to the nearest couple of locations to the user. Chargers can be found either by navigating the map or searching in the search bar at the top.
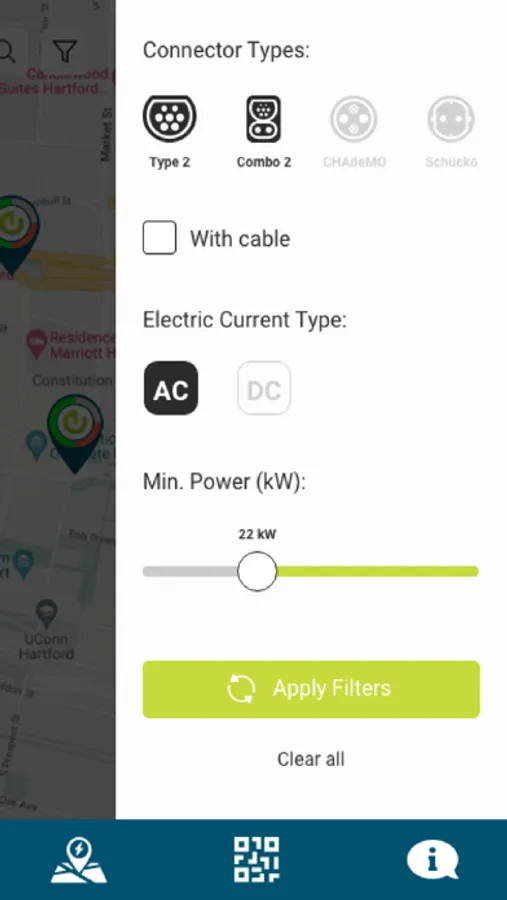
Filtering Chargers
Chargers can be filtered by connector types; electrical current type, min. Power available;
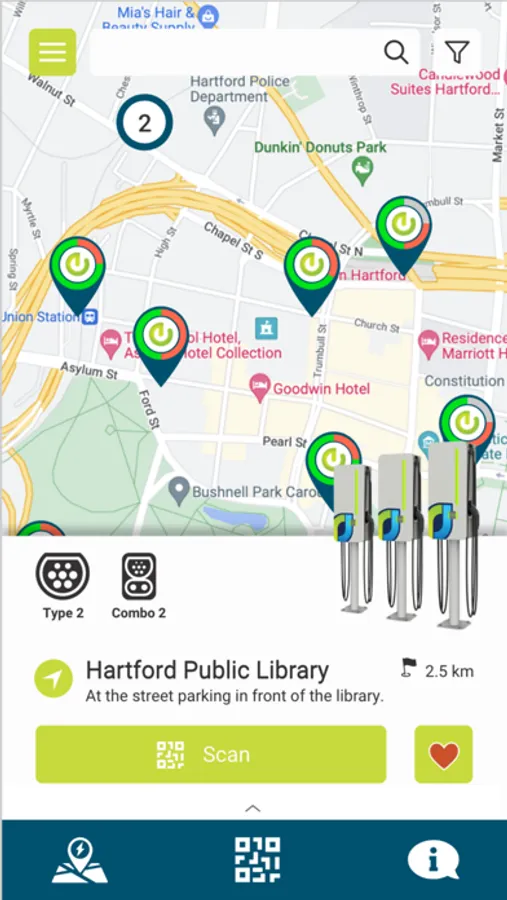
Selecting a Location
By selecting a location pin the user will be able to find all available chargers at a given location along with availability, a brief description, and a tariff summary.
Navigating to a station
By tapping on the location description, the user will be automatically redirected to his default navigation app with the route to the location already set.
Scan
The user can scan a connector’s QR code at a given location and the app will automatically navigate to the “Start Session” page for the appropriate connector.
Start a session
After selecting a connector, the user will be prompted to either start a session or reserve the station for a given time period. If the user wants to start a session, they have to select a payment method through a drop-down menu.
Session Summary
After the session has finished the user will be directed to the next screen with a session summary with all relevant data displayed along with a graph depicting the charger consumption throughout the session.


