AppRecs review analysis
AppRecs rating 5.0. Trustworthiness 72 out of 100. Review manipulation risk 31 out of 100. Based on a review sample analyzed.
★★★★★
5.0
AppRecs Rating
Ratings breakdown
5 star
40%
4 star
0%
3 star
0%
2 star
20%
1 star
40%
What to know
✓
Credible reviews
72% trustworthiness score from analyzed reviews
About Comic Art - Cartoon Effects
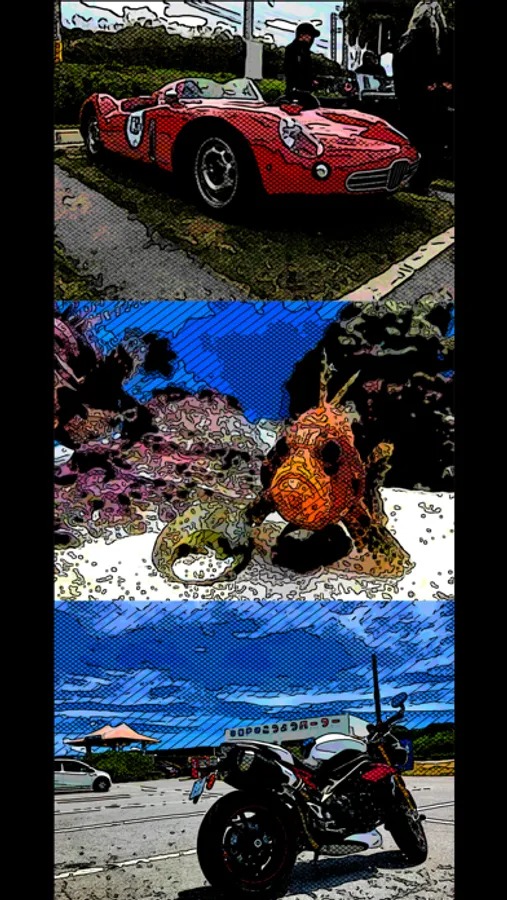
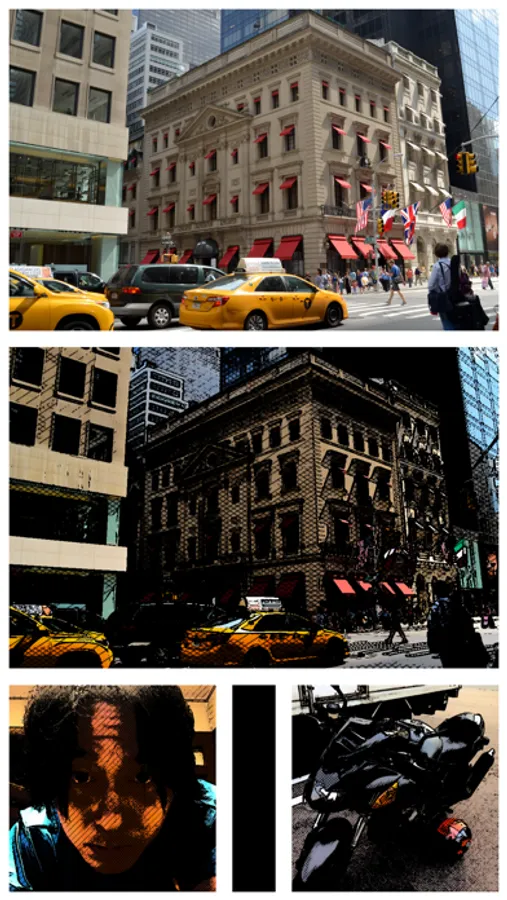
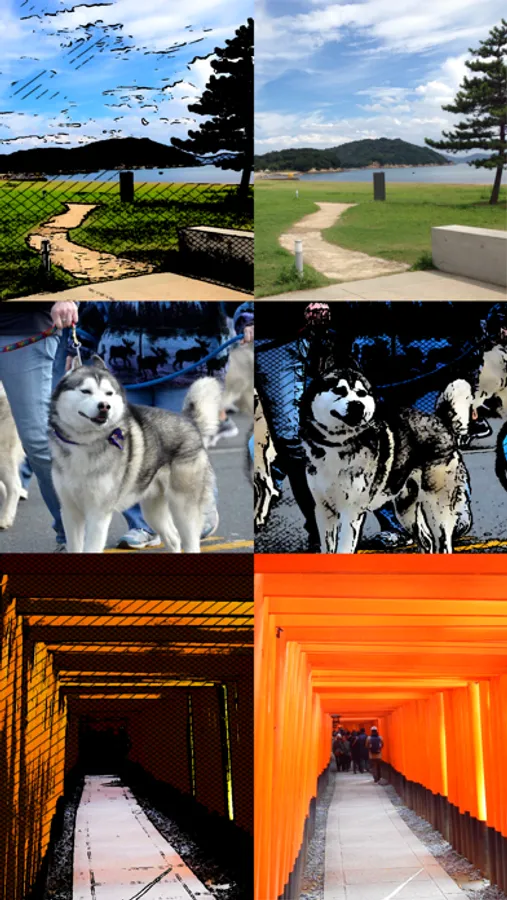
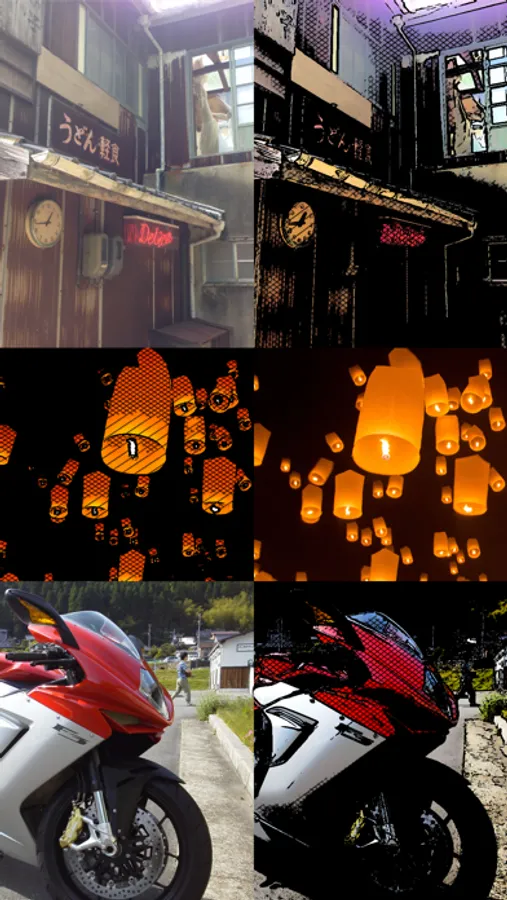
"Comic Art" is Art Photo Editor application that allows you to create "Comic illustration", "Cartoon illustration" and "Graphic novel tone illustration" Style Effect Image from camera, photographs and illustrations easily.
You will be able to create "Comic style illustration", "Cartoon style illustration" and "Graphic novel tone style illustration" from your photo and illustration by using Art Photo Editor app "Comic Art".
If you enjoyed by this App, I'm glad.
■List of adjustable items
1. Shadow setting
You can edit the solid fill in the dark areas of the image.
The items that can be adjusted are as follows.
(1) Shadow Area
(2) Shadow Depth
You can adjust the solid density of the image.
The darkness of the darkest part of the photo is constant, and you can adjust the solidness of the middle part from full black to no solid.
2. Tone setting
You can edit the tone applied to the image.
You can set the following 3 types of tones.
(1) Mesh Tone 1
Adds a mesh tone to the image.
The items that can be adjusted are as follows.
・Two type of Tone Area
・Mesh Spacing
(2) Mesh Tone 2
*To save the image with this tone, you need to purchase the Add-on.
Adds a mesh tone to the image.
Unlike Mesh Tone 1, no tone is applied to the brightest part of the image.
The items that can be adjusted are as follows.
・Two type of Tone Area
・Mesh Spacing
(3) Dot Tone
*To save the image with this tone, you need to purchase the Add-on.
Adds a dot tone to the image.
The items that can be adjusted are as follows.
・Tone Area
・Dot Size
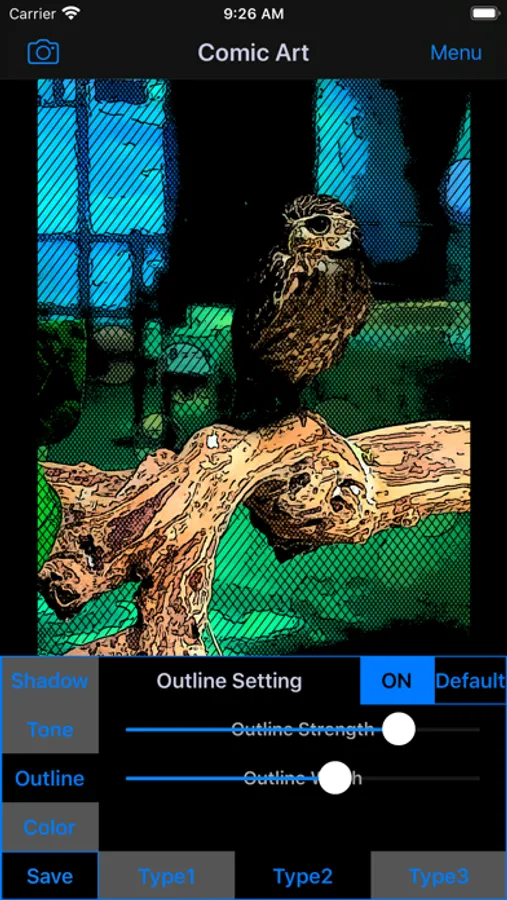
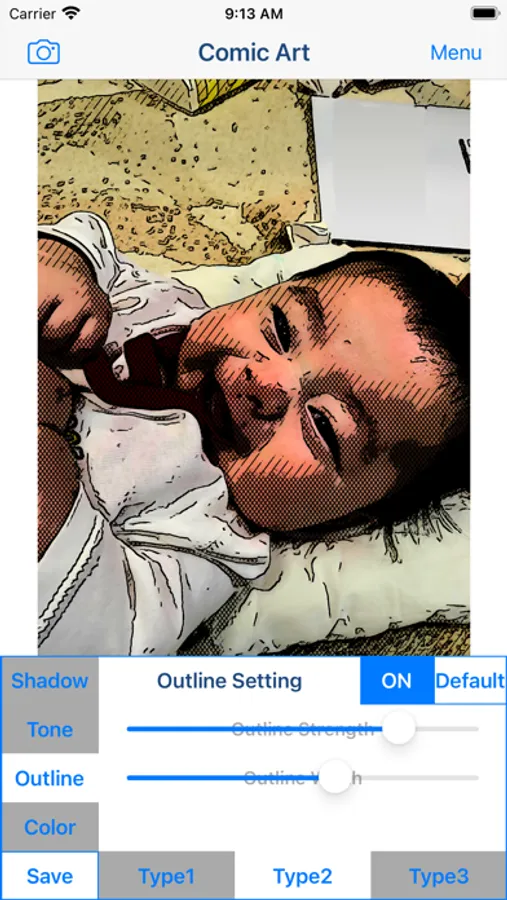
3. Outline setting
You can edit the outline of the image.
You can set the following 3 types of outline.
(1) Type 1
The items that can be adjusted are as follows.
・Outline Strength
・Outline Width
(2) Type 2
*To save the image with this outline, you need to purchase the Add-on.
It has a finer outline than Type 1.
The items that can be adjusted are as follows.
・Outline Strength
・Outline Width
(3) Type 3
*To save the image with this outline, you need to purchase the Add-on.
It is a outline that looks like ink is bleeding.
The items that can be adjusted are as follows.
・Outline Strength
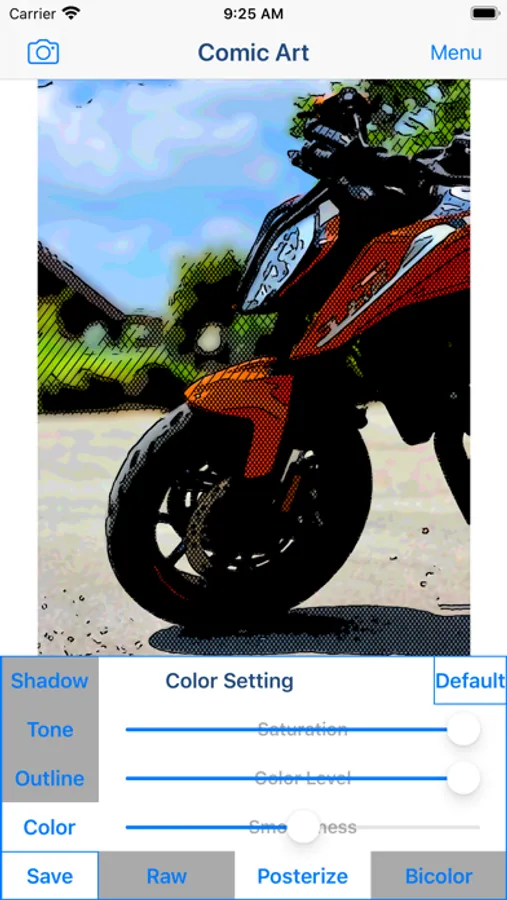
4. Color setting
You can edit the color of the image.
You can set the following 3 types of color.
(1) Raw
Use the original photo color as is.
The items that can be adjusted are as follows.
・Saturation
(2) Posterize
*To save the image with this color, you need to purchase the Add-on.
Create an image with the number of colors reduced from the original photo.
The items that can be adjusted are as follows.
・Saturation
・Color Level
・Smoothness
(3) Bicolors
*To save the image with this color, you need to purchase the Add-on.
Creates a two-color image.
The items that can be adjusted are as follows.
・Hue
・Color Level
・Smoothness
■ How to edit and process images
1. From the "Camera" button on the upper left of the screen, select the photo or image you want to process or edit. You can select the acquisition destination of the photo/image from the camera and camera roll (photo album).
2. When the selected image is displayed on the screen, adjust the desired image quality by operating the various setting buttons and editing/processing sliders from the "Shadow", "Tone", "Outline" and "Color" buttons.
3. After adjusting the image quality to your liking, click the "Save" button and the currently displayed image will be saved in the "Camera Roll".
*A full screen advertisement will be displayed when the save is complete. You can hide this ad by purchasing the Add-on.
■About in-app advertising
In the app, a banner ad is displayed at the bottom of the photo editing screen, and a full ad is displayed when the image is saved.
These ads can be hidden by purchasing the Add-on.
