About iReplica
If you've ever wanted to capture a photo that closely resembles what your eyes see, the iReplica is just the app for you. iReplica provides users with the ability to both capture and save pictures in RAW, while also providing two different processing pipelines to adjust the image. iReplica is currently in its initial stages, and we are regularly improving its mechanics. The camera application is inspired by work from the laboratory of Dr. Alonso. The app is written by Adam Khoukhi, who is supervised by Hamed Nasrabadi, both are in the laboratory of Dr. Alonso. The purpose of developing this application is to provide vision research in order to better understand how the human eye works. So you will be able to closely replicate what your eyes see on your phone and contribute to world-class vision research!
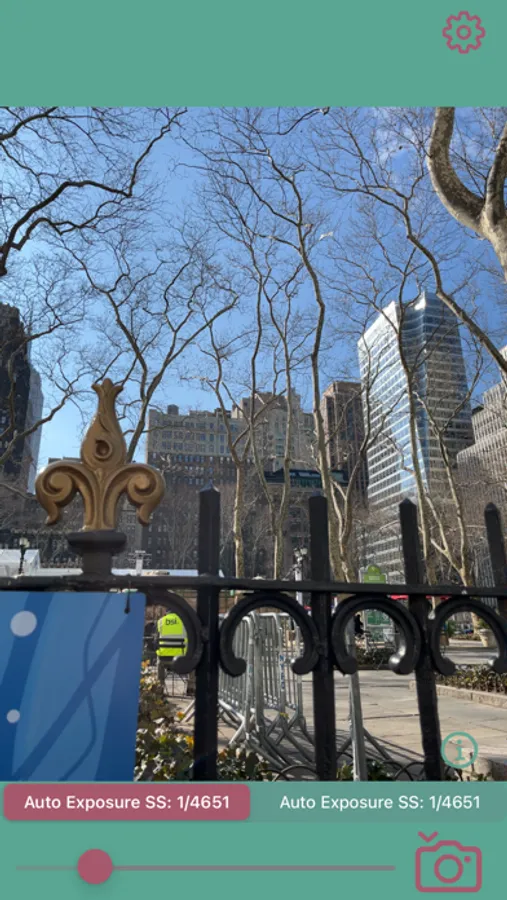
The Capture Photos stage is, simply, where you will capture the photo. iReplica captures photos in RAW. Under the viewfinder display is the capture adjustment segment selector. Currently, we have two modes: Automatic Mode and Manual Mode. In automatic mode, you can select the correct segment depending on whether you are indoors or outdoors. This selection will help us better understand the ambient light in your environment, which will prompt you with a slider to adjust the photo’s exposure. The application uses HDR and captures 4 images, 3 of which will be relative to the captured photo with the selected shutter speed. Select the indoor segment if you would like the relative images to be brighter, and the outdoor one if you would like them to be darker. As for Manual Mode, you have the freedom to choose the shutter speeds for all four images. The app also supports Auto Exposure where you can click anywhere on the viewfinder to automatically adjust the exposure to match well with the point of selection. Lastly, you can adjust the temperature by swiping up or down on the viewfinder to adjust the temperature of the captured image.
Once you capture a photo, the application will also capture 3 more images of different exposure. The application then starts processing the RAW sensor data. Since the photo is captured in RAW, we must first read and process the unprocessed sensor data in order to display an image. If you would like the RAW data, no worries, you can save the RAW photo alone or with the processed image. Processing the RAW sensor data does take some time and is done under the hood. While the screen has a loading page, the application first reads the unprocessed sensor data. It then applies a black level so the image doesn’t look saturated, and applies a white balance so that white looks white and not green or yellow. Once the color is correct, the application demosaics the Bayer pattern and applies the appropriate color space conversion. Lastly, HDR is implemented.
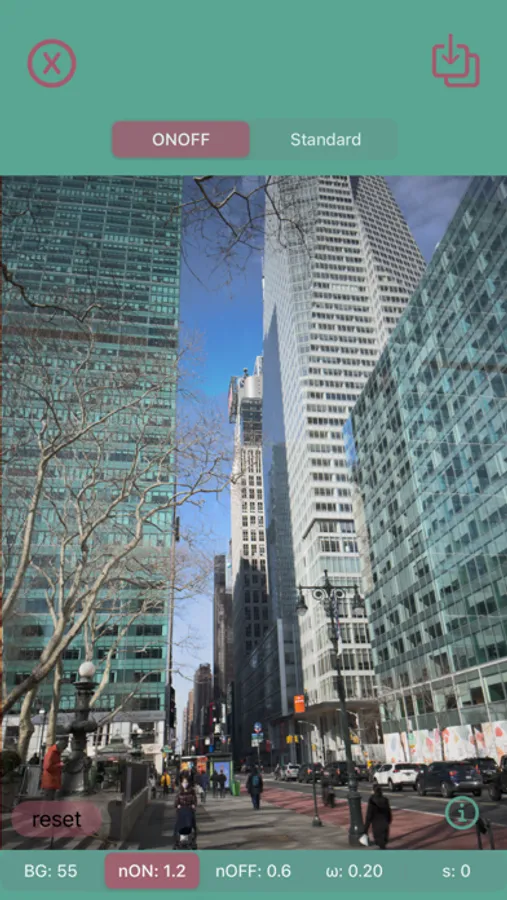
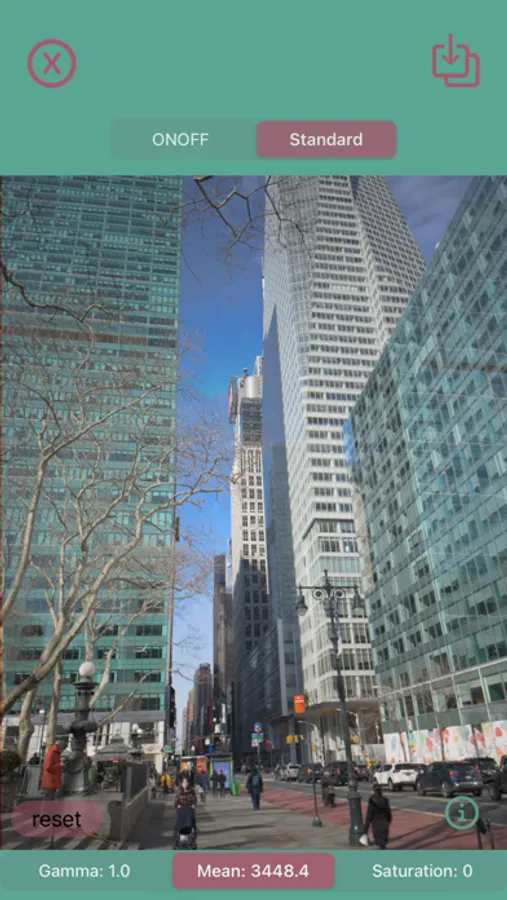
The first method, standard, applies a gamma correction. In this method, you can process the image by adjusting its gamma correction, mean, and saturation. The other method, ONOFF, is our custom method that involves adjusting a weight, alpha value, an off beta value, an on beta value, and a saturation factor. This method is closely related to what our eyes see, and was based on the biological functions of sight.
Once you're done editing, you can save the photo to your Photos by clicking the save button on the top right corner. There, you will have 3 saving choices; click on the RAW if you would like to only save the captured photo in RAW. This will save a DNG file, about 12 MB in size, in your Photos. The preview that you see for the RAW is simply a jpg preview. Click on Processed if you would like only to save your processing of the captured photo. This will save a png file that looks identical to the image displayed on your screen. If you would like to save both, then click on RAW+Processed (Note: this will save two separate files).


